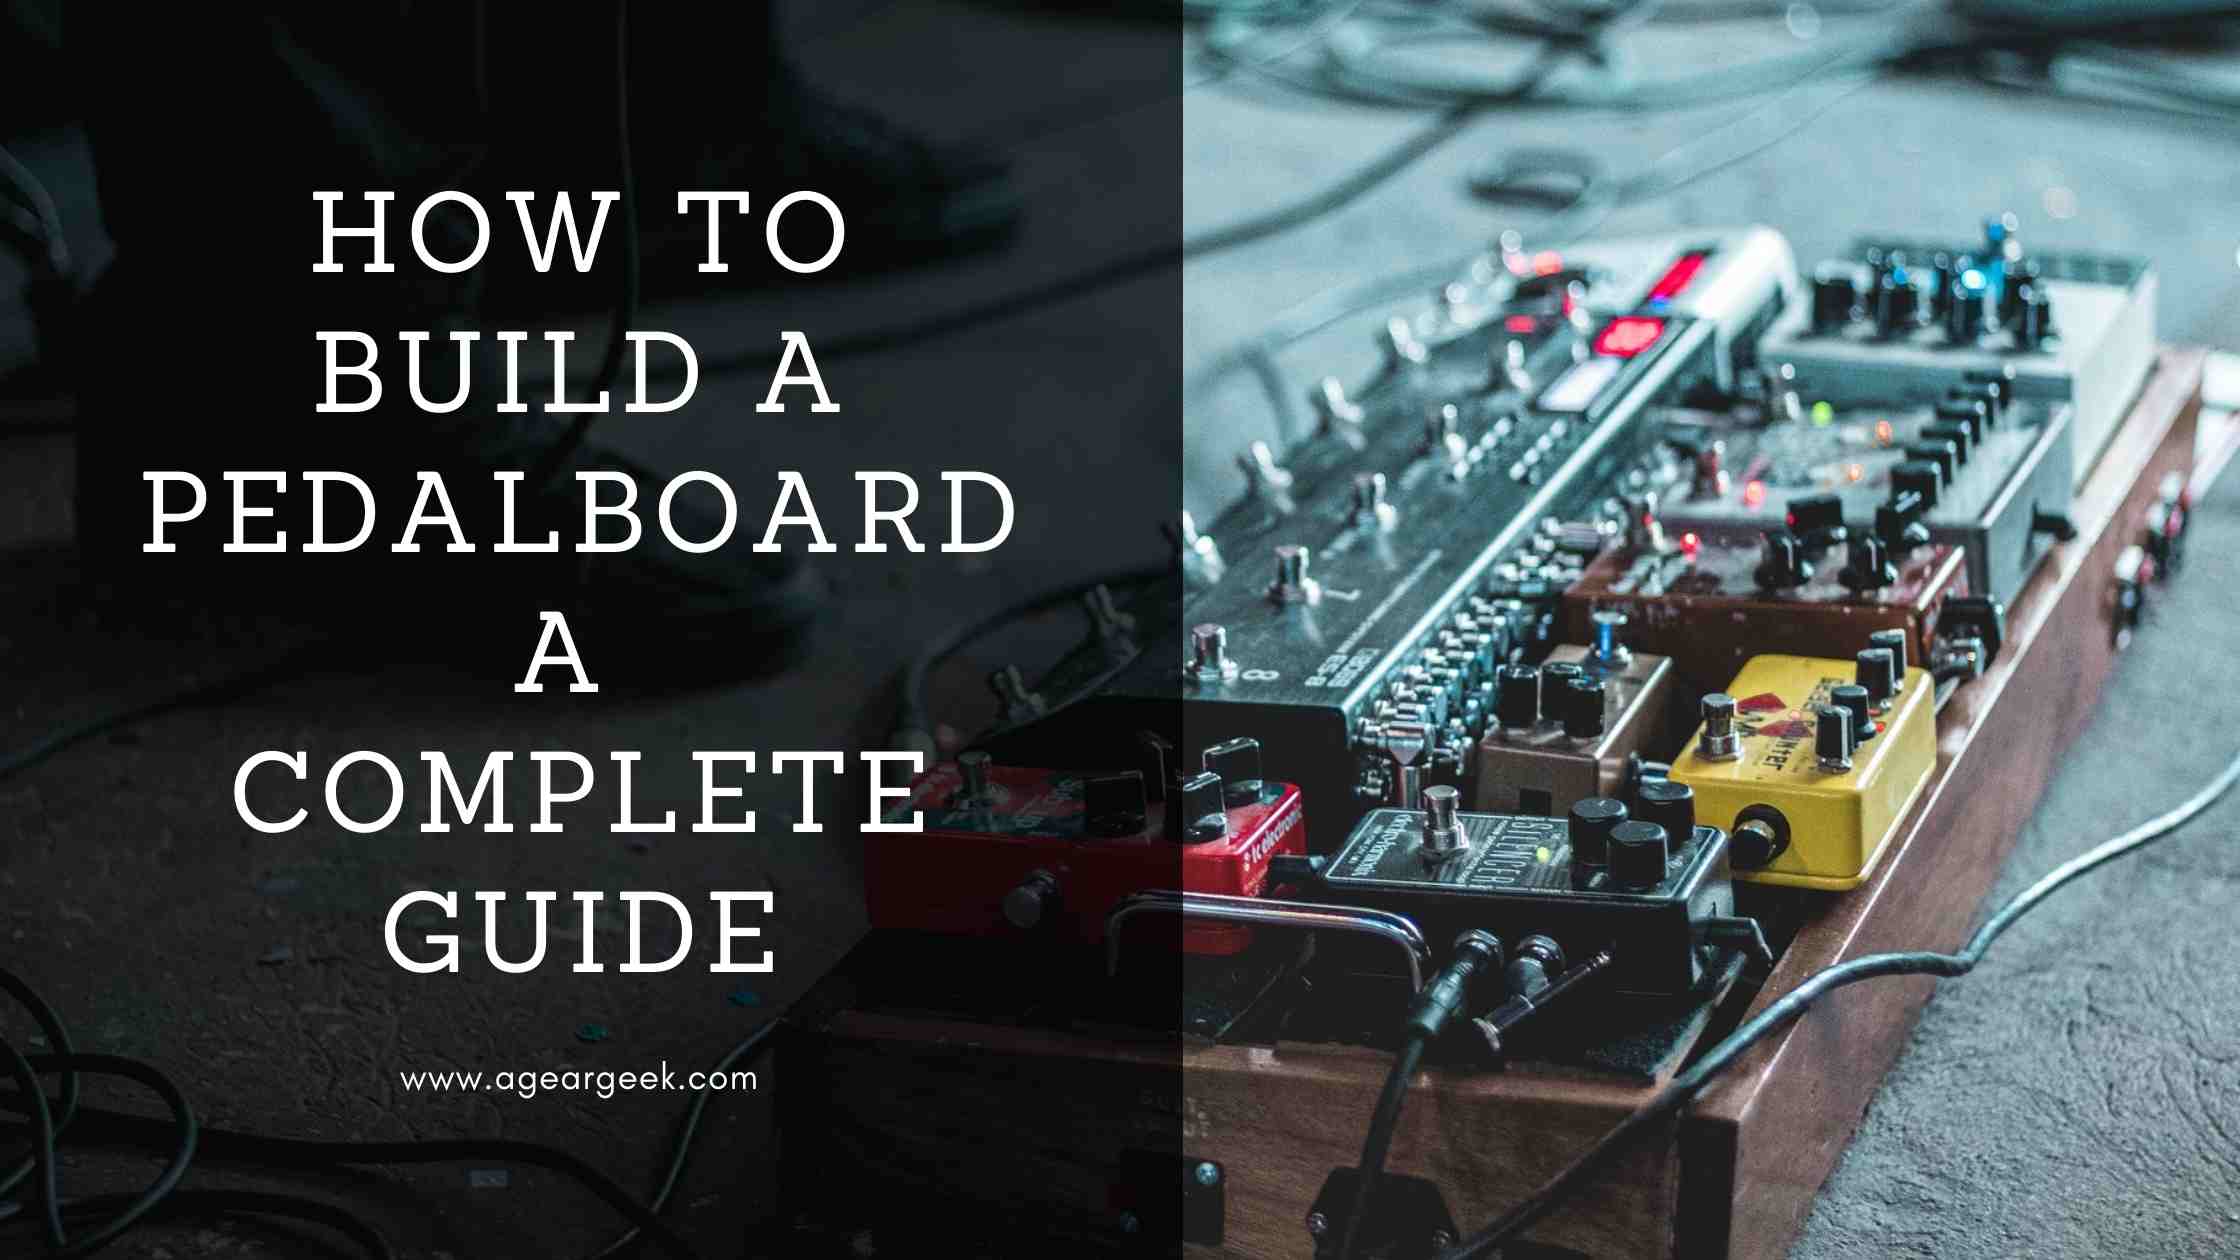
Guitarists are unique beings. We are never satisfied with what we have. We have major GAS (Guitar Acquisition Syndrome) and have our NGD (New Guitar/ Gear Day). Buying new gears gives us a boost of dopamine and serotonin (meaning makes us feel happy and good) and leaves us wanting more. In this article, we will cover one aspect of this, how to build a pedalboard so that we can place our beloved pedals on one board (and plan for future expansion).
Disclosure: We’re an affiliate. We hope you love the products we recommend! This post contains affiliate links. If you use these links to buy the products, we may earn a commission from the qualified sales. These are at no additional cost to you. Thank you if you use our links, we really appreciate it!
What is a Pedalboard
A pedalboard is a metal, wooden or plastic base made in a way where you can keep your most-used pedals hooked and ready to go. The base of the pedalboard normally has a tape made specifically for attaching the pedals to the board firmly. On a pedalboard, you can place the pedals as per your signal chain. You hook them up with patch cables with each other so that it becomes a plug and play rig for you.
5 reasons why you need a pedal board
Keeping the Pedals Safe
First and foremost, your beloved pedals on which you have spent hundreds and thousands of dollars are safe on a pedalboard. By placing the pedals on a pedalboard, you ensure that they do not bump off to each other. They are placed on an even board that is safe and does not have the danger of pedals falling from a height. A pedalboard provides an ample amount of space between the pedals for ease of use. In addition, there are some fantastic insulated touring boxes available for carrying pedalboards. The idea is safety and peace of mind.
Placement of Pedals
All guitarists have a preference for the placement of pedals on specific places in a signal chain. You may want to have the volume pedal up in the chain, after gain and before reverb and delays or at the end. Or you may want to stack the gain pedals or modulation or time-based pedals in a specific way. It all depends on the unique sound you want to achieve. Having this done once and for all while setting up your pedalboard, helps you to just plug and play.
Saves Time
When you build and use a pedalboard, you put your typical placement of pedals on the signal chain as per the sound you want to achieve. The Pedals including the power supply are all attached to the pedalboard by hooking tapes and are connected by patch cables. So in a live situation, you just need to plug in your guitar and the output cable from the board to the amp. Quick and easy and saves time.
Less wear and tear
If pedals are left loose and connected every time, the connecting components go through wear and tear and reduce the lifespan of the pedals, patch cables, power bricks, etc. One of the best benefits of pedalboards is that it helps the pedals and the accessories to achieve a longer life. The patch cables especially can develop connectivity issues if they are plugged in and removed regularly.
No unpleasant surprises
Having a pedalboard and the pedals set on them ensures that you do not have to remember every time to ensure all the pedals are in your bag before a gig. It eliminates the possibility of forgetting to bring an essential pedal to a gig. Thus, you reduce the chances of unpleasant surprises having a pedalboard.
With this background, we will now get into the different aspects of how to build a Pedalboard.
What size pedalboard do you require?
The answer to this question is dependent on the number of pedals you have and the size of the pedals you use. Normally a pedalboard build holding 8 pedals is generally considered sufficient. If you are using smaller stompboxes the space required by the pedals on the pedalboard will be lesser than using larger pedal boxes. Some pedals which can take up more space on the pedalboard are Strymon Reverbs, BOSS Digital Delays, Wahs, Volume Pedals, Fuzz Face, etc.
The other question that you will have to answer is that where would you play most frequently. Normally in your home or home studio, you have the luxury to add as many pedals as you wish to your rig. But when you have to transport, using a large pedal board could be cumbersome. Then you might need a hard case with proper cushioning to ensure your pedals do not get damaged.
The best way to determine the size of the board you require is to place all the pedals on the floor as per your signal chain. Keep space for patch cables and power inputs and measure the area with a measuring tape. You will get an idea of what you should be gunning for.
Type of pedalboards
There are a few types of pedalboards you can choose from. These range from being powered, angled, use of different materials, having a carrying case etc.
Powered
Some pedalboards are powered, meaning they have an in-built power supply in the pedalboard. Though this at first impression might seem to be a great idea but in reality has some twists.
Though most pedals work on a 9V power input option, there are pedals that will require 12 V or 18V. If the built-in power of the pedalboard does not have options for 12V and 18V then it might be limiting your use of pedals in a way. Some manufacturers mount the power supply on the board as well. The key here is to ensure that you have enough lines and power options to meet all your diverse power needs.
Some good powered pedal boards are Boss BCB – 90X and Voodoo Lab Dingbat Medium with Pedal Power 4 x4.
No products found.
Angled vs Flat
Angled pedalboards give a better view of the pedals while you are playing. They also help to reach the pedals higher up on the board with relative ease. The angled board provides space for the power brick to be tucked underneath the board. This is space-efficient, making more space for actual effect pedals on the board.
Flat boards are great options as well but being a guitarist myself, I feel the angled boards provide a lot easier access to the pedals with your foot. It also works better with pedals that have an element of display for optimal use like Tuners or certain delay pedals with digital displays on the front panel.
Some good angled boards are Pedaltrain Classic Jr and Warwick Rockboard TRES 3.1
No products found.
Material
The material of the pedalboards has a role to play both in terms of making it durable as well as making them easy to carry. You can build a pedalboard made up of metal (most commonly Aluminium), wood, plywood or even moulded plastic. Metal pedalboards, like the ones made from Aluminium, can be light and sturdy at the same time. Wooden boards could be heavy and moulded plastic could be in between metal and wood.
Guitarists are very creative creatures and love to create pedalboards of their own, and wood scores high here. If you want to build an odd size pedalboard, then perhaps wood is your best friend. IKEA has some DIY shelf options which could be customized to make some fantastic pedalboards.
The Boss BCB 30 is a good example of a moulded plastic case and Rauch Carnaby is a good wooden option.
No products found.
Hardcase
Hardcase pedalboards could be heavy and bulky to carry, but they offer amazing protection to your pedals. These pedalboards are transport worthy and are best for touring guitarists or professionals who need to carry their highly sophisticated effects chain carefully for every gig.
One good option here is the Gator G Tour.
No products found.
How to choose a Power Supply?
When you are placing effect pedals on a board, the power supply is actually the heart of your pedalboard build. Just like in a human body the heart pumps blood, the power supply pumps in clean electricity for your pedals to work efficiently.
As a rule of thumb, the power supply you choose should be an isolated power supply and not a daisy chain one. An isolated power supply ensures that each of your pedals has an individual power source and is not shared. Daisy chains are shared power supplies and they are infamous for producing hum or buzz in the signal chain.
While most of the pedals will accept a 9V power supply, some pedals may require 12V, 18V, or even 24 V power. In addition to this, some pedals need positive and some pedals need negative polarity. This is extremely crucial as the incorrect polarity can potentially damage your pedal. The last parameter which we should be aware of is Amperage which in other words means the rate of the electrical current. This is what your power supply needs to meet or exceed. It is measured as milliamps or (mA).
Truetone 1 Spot CS 12 and Voodoo Labs Pedal Power 2 Plus are some great options for Isolated power supplies that can quieten the signal noise.
No products found.
What is the ideal layout of the pedals?
The placement of the pedals is perhaps the most important part of how to build a pedalboard. Though there are no hard and fast rules, but there are some conventional wisdom for placement of effects in the signal chain.
The signal chain in the simplest of terms is the signal from the guitar to the amp. This could be a direct signal from the guitar to the amp or it could be via the pedals to the amp. The signal chain can also incorporate some effects in the effects loop (if the amp has one). You can get more information on Signal Chain and placement of pedals here.
Generally pedals are placed as below.
Tuner
You need to have a tuner in the signal chain. Generally, the dry signal from the guitar hits the tuner first on the pedalboard. Some tuners like TC Electronic Polytune 3 have an inbuilt buffer in them. So, if you are running a 30 ft cable from the guitar to the board, the buffer in the tuner will be able to restore the loss of the signal to a certain extent.
No products found.
Dynamic Pedals – Compressor
The next in the line is the compressor. Compressors are a Dynamic group of pedals that shape the waveform vis a via volume. The compressor quietens the loud signals and makes the quiet signals loud. By doing this it creates a sustain. Keeley Compressor Plus and Boss CP 1X are the best options that money can buy.
No products found.
Frequency Pedals – Wah
The next pedal is generally a Wah pedal. Wah pedals belong to the frequency class of pedals which boost certain frequencies when used. As you move the Wah pedal from heel to toe, you boost certain frequencies which gives a talk box sort of a sound. The John Petrucci Series Wah JP95 and Slash Signature Series SC95 are some fantastic options.
No products found.
Gain Pedals – Boost, Overdrive, Distortion
Next are the gain pedals. You can place the boost, overdrive, and distortion here. The Exotic EP 3 is a great boost pedal and Suhr Riot Reloaded is a fantastic distortion pedal with amp-like tones. You can also put a noise gate here and the Boss NS2 is always a good choice.
No products found.
Modulation – Chorus, Flanger, Phaser, Tremelo
Next are the modulators. These are Chorus, Flanger, Phaser, Tremolo. TC Electronic Corona Chorus and Boss Waza Craft CE 2W chorus are some great options.
No products found.
Volume Pedal
You can consider placing a volume pedal next in line to the modulators and before the reverbs and delays. The placement of the volume pedal here can help to create lush sounding cascading walls of sound with the help of the reverbs and delays. Ernie Ball MVP is perhaps the best there in terms of a volume pedal. This is an active pedal.
No products found.
Time Based Effects – Reverbs and Delays
Here go the reverb and delays. These are time-based effects and make the presence of the guitar larger than life. It helps to fill up the time gaps in the sound, giving a more continuous and pleasing sounding effect. TC Electronic Hall of Fame 2 and Flashback 2 are some fantastic options for Reverb and Delays.
No products found.
Buffer Pedal
You can place a buffer pedal here and at the beginning of the pedalboard. Buffer pedals restore any loss of tone in the rig. If you are running long cables or a large pedalboard, it is likely that there will be some loss of attack and high-end roll-off. In simple terms, the effect of loss of tone and attack is similar to when you roll down the tone knob of the guitar. This could be restored with the use of buffer pedals. TC Electronic Bonafide Buffer or Suhr Buffer are some good options.
No products found.
Cables
After all these the last thing which you need will be some good quality cables. The two longest cables in the rig will be the one from the guitar to the pedalboard and the other, from the pedalboard to the amp.
Cables have inbuilt capacitance and the longer the cable, the higher the capacitance build-up which affects the tone of the guitar. It affects in having a loss of high ends and attack. Investing in good quality cables help in reducing this to a certain level. The Mogami Gold Series Guitar Cables or Evidence Audio Lyric HG Guitar Cables are the two best options. These are chosen by the top artists.
No products found.
The other cables which we will need are the patch cables. Patch cables are short cables by which the pedals are hooked to one another creating a signal chain. The signal from the guitar and then from one pedal to the other are transferred by the patch cables and ultimately to the amp. Again multiple smaller patch cables bring in capacitance and may result in tone suck. Using high quality and the same brand of patch cables helps in maintaining the tone. The Ernie Ball Flat Angle Patch Cable or Mogami Gold Instrument PRR Pancake Right Angle Pedal Cable are the best.
No products found.
Summing up
Hope this article gives you a good understanding of the basics and how to build a pedalboard. While we choose a size of a pedalboard, it is always important to leave some space for future expansion. We guitarists love buying new pedals and love adding more to our already overcrowded boards.
Using quality cables and power supply are crucially important to preserve your tone and to have a clean sound. Isolated power helps in reducing the buzz and hum in the signal chain.
Now you can go ahead and build the best pedalboard for yourself.
Last update on 2025-06-05 / Affiliate links / Images from Amazon Product Advertising API